Free Shipping on Orders over $99
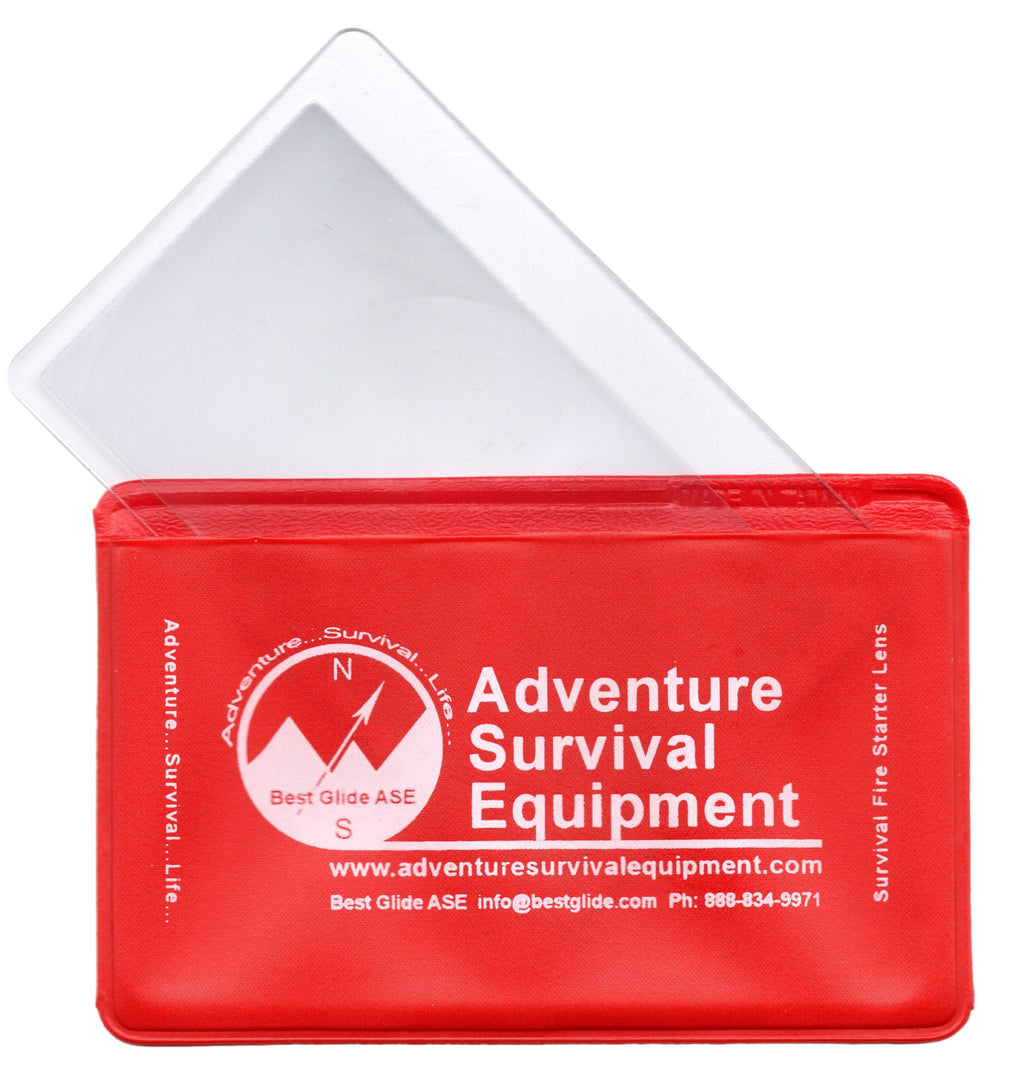
Best Glide ASE Fresnel Lens Fire Starter and Magnifier (Red, Green, or Yellow)
Regular price $0.99
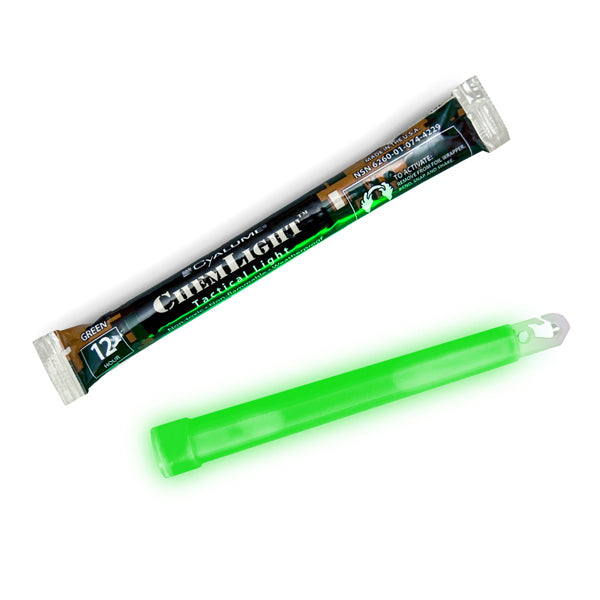
Cyalume ChemLight Tactical Light (12 Hour - Multiple Colors)
from $3.55
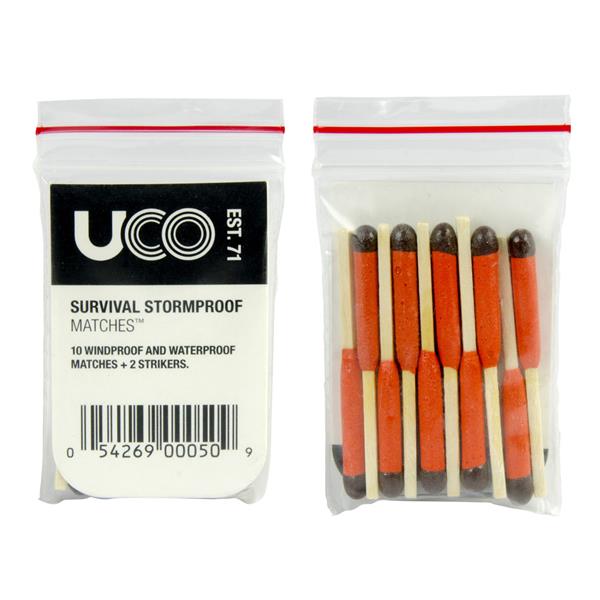
Survival Stormproof Matches by UCO
Regular price $2.95
Sold out
Tinder Quik Fire Tabs
from $2.95
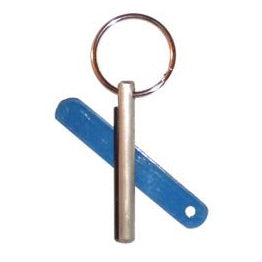
Strike Master K1 Sparky Fire Starter
Regular price $4.95
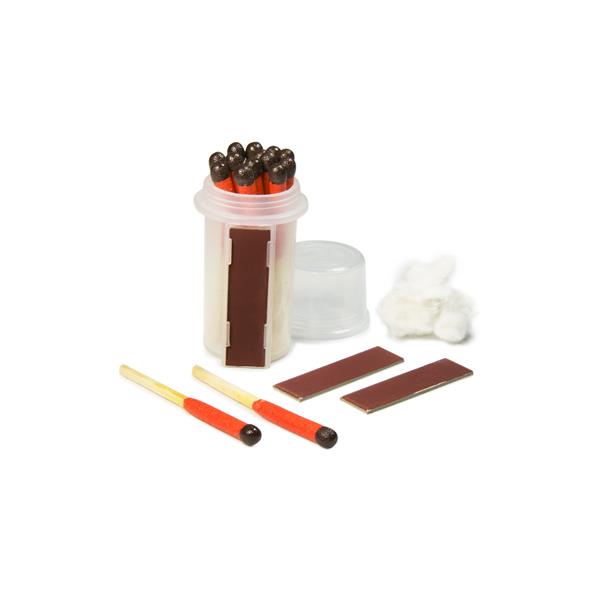
Survival Stormproof Match Kit by UCO
Regular price $3.95
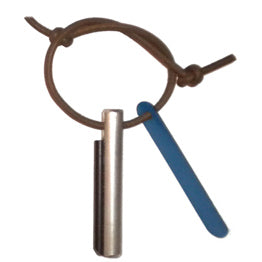
Strike Master K7 Magnesium Fire Starter
Regular price $6.55
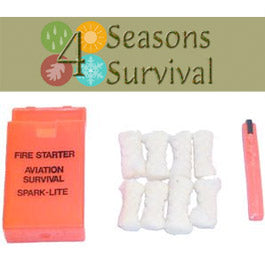
Spark Lite Aviation Survival Fire Starter
from $8.95
Best Glide ASE Fresnel Lens Fire Starter and Magnifier (Green, Red, or Yellow Cover; Singles or 3-Packs)
from $0.99
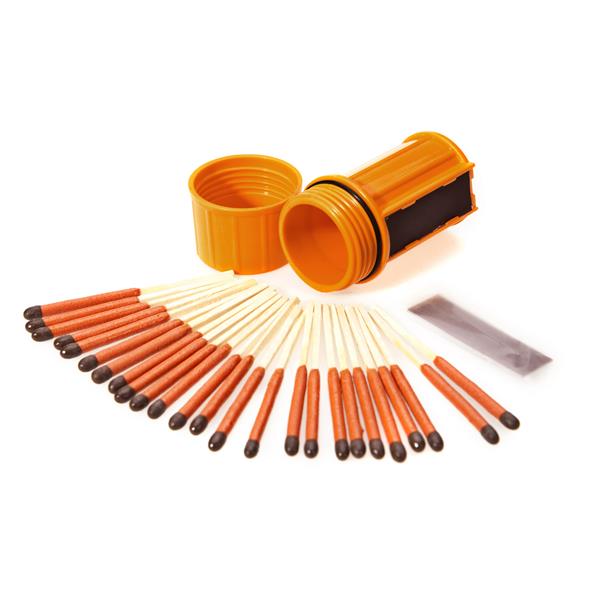
Stormproof Match Kit with Waterproof Case, 25 Stormproof Matches, and 3 Strikers by UCO
Regular price $8.55
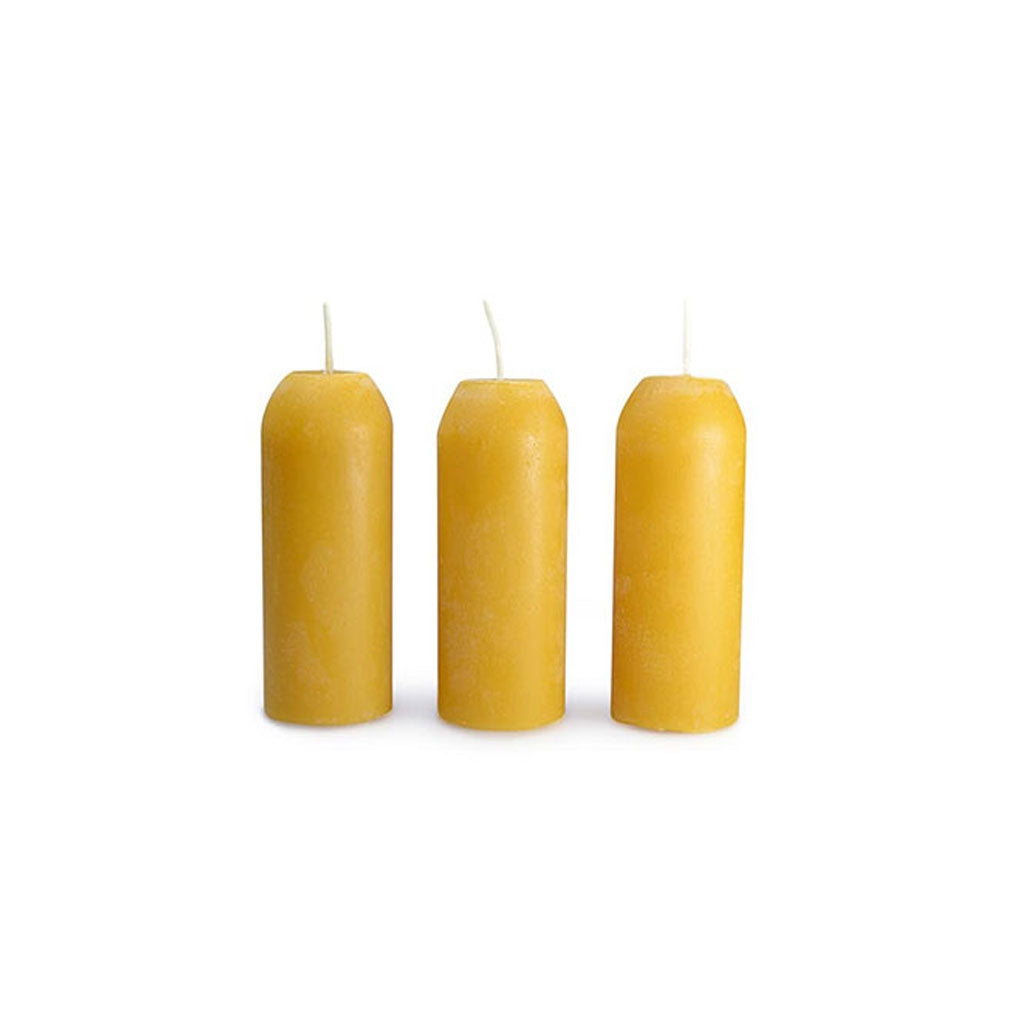
Beeswax Candles (3 Pack) by UCO
Regular price $15.95
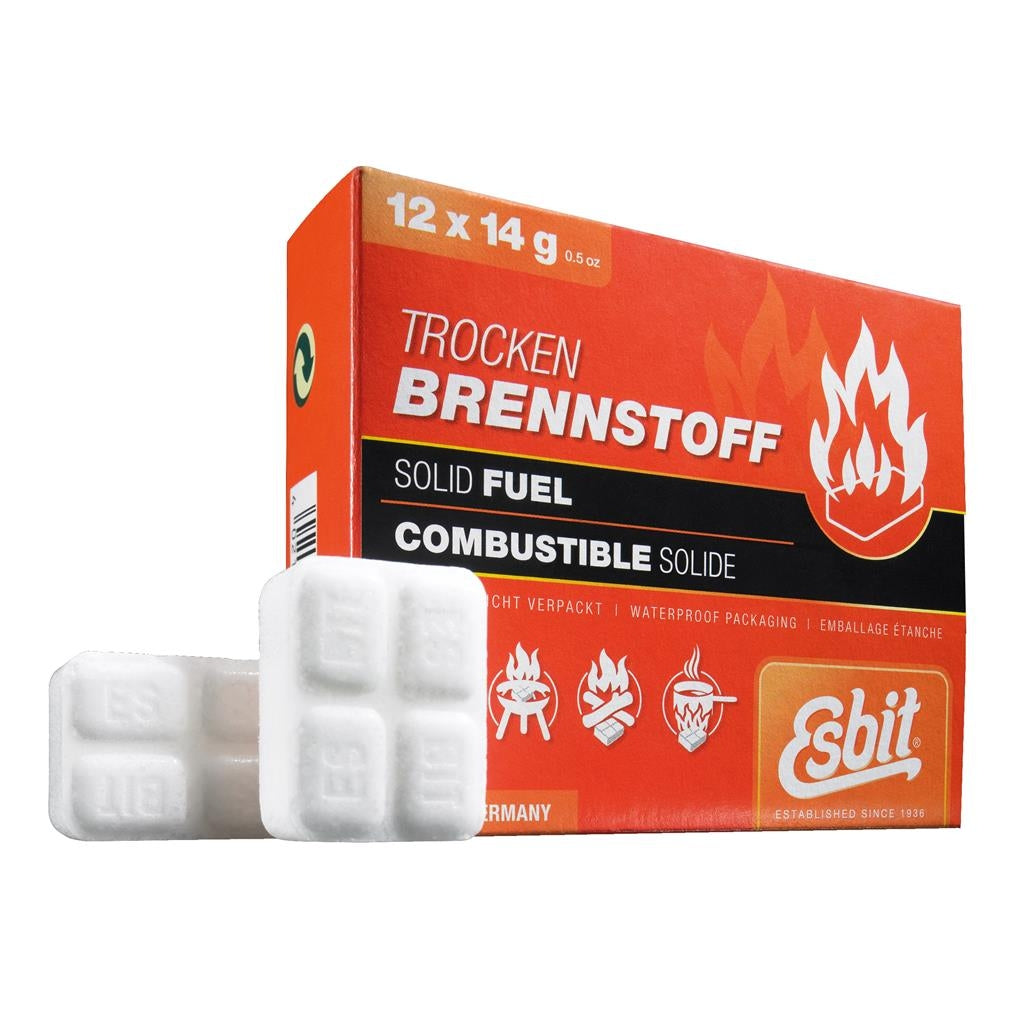
Esbit Survival Stove Solid Fuel (12 pieces of 14 Gram)
Regular price $9.95
Brass Spark-Lite Military Aviation Fire Starter with 8 Tinder Tabs
Regular price $19.99 now $18.99
RESCUE LASER™ EMERGENCY SIGNALING DEVICES by Greatland Laser
Regular price $119.95 now $106.95
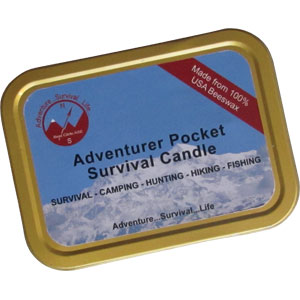
Best Glide ASE Pocket Survival Candle
Regular price $12.95
Coghlan's Waterproof Match Holder
Regular price $1.95
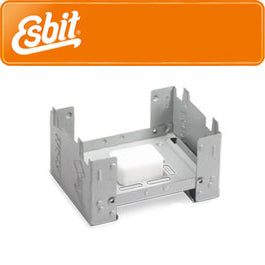
Esbit Pocket Stove and Solid Fuel Tabs (Incl: 6 pieces of 14 Gram)
Regular price $13.95
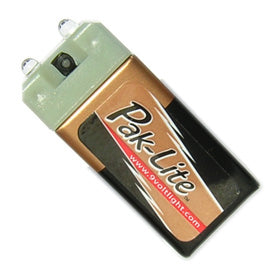
Pak Lite SUPER White LED Flashlight
Regular price $23.99
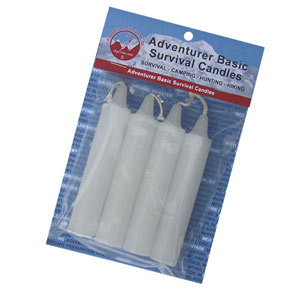
Best Glide ASE Basic Survival Candles
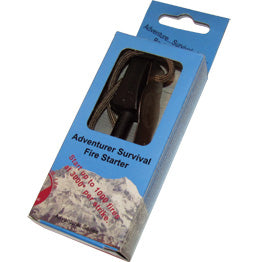
Best Glide ASE Survival Fire Starter
Regular price $7.95
9 Hour Candles (3 Pack) by UCO
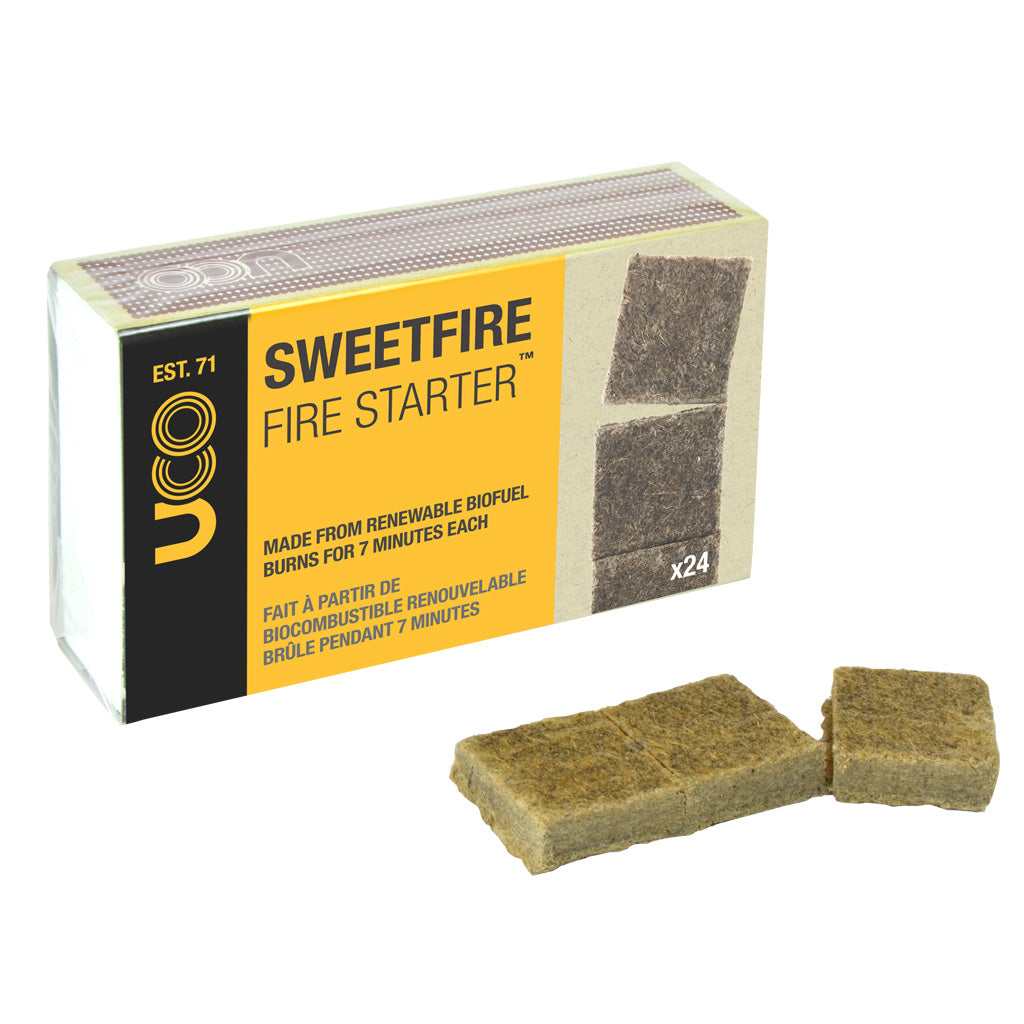
Sweetfire Firestarter Bio-Fuel Tabs
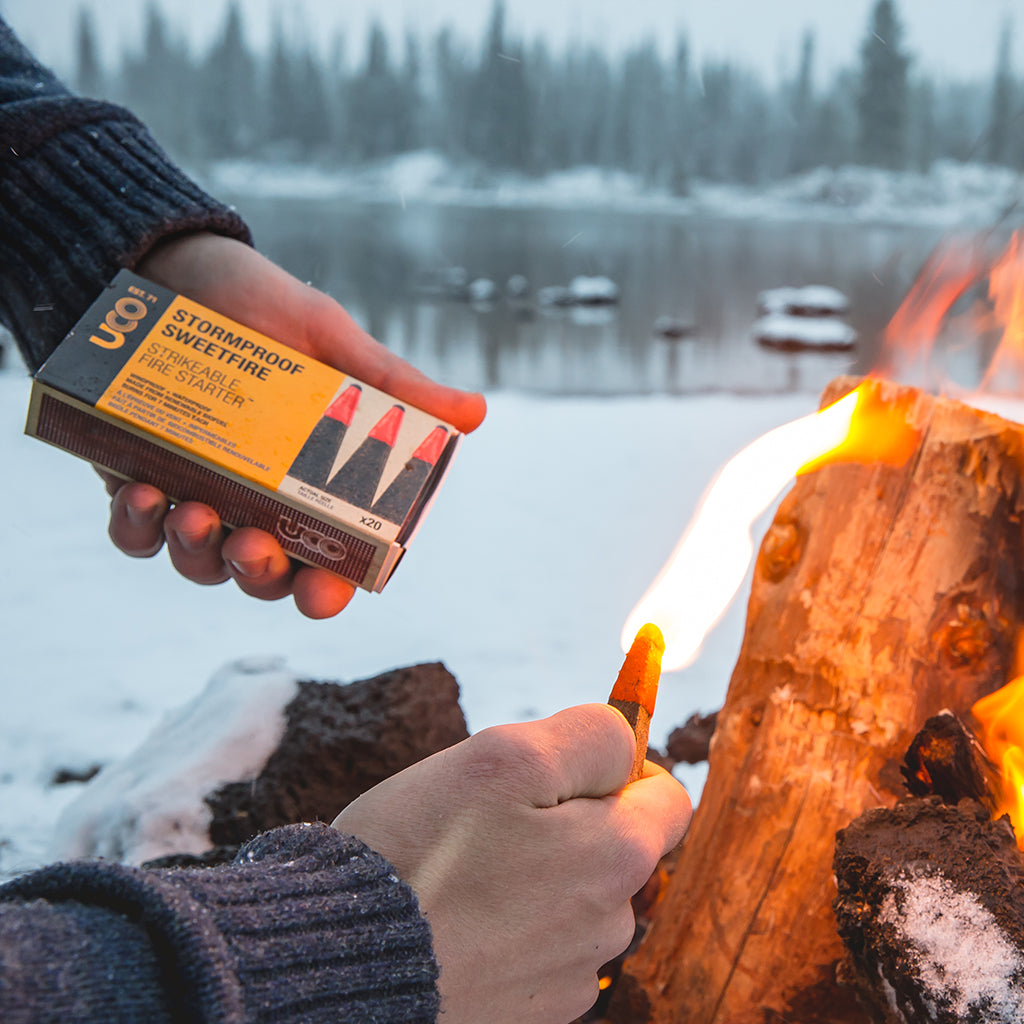
Stormproof Sweetfire Strikeable Matches by UCO
from $4.95
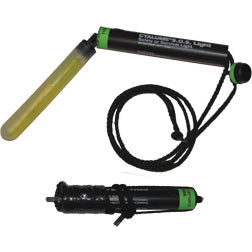
Cyalume SOS Survival Signal and Light